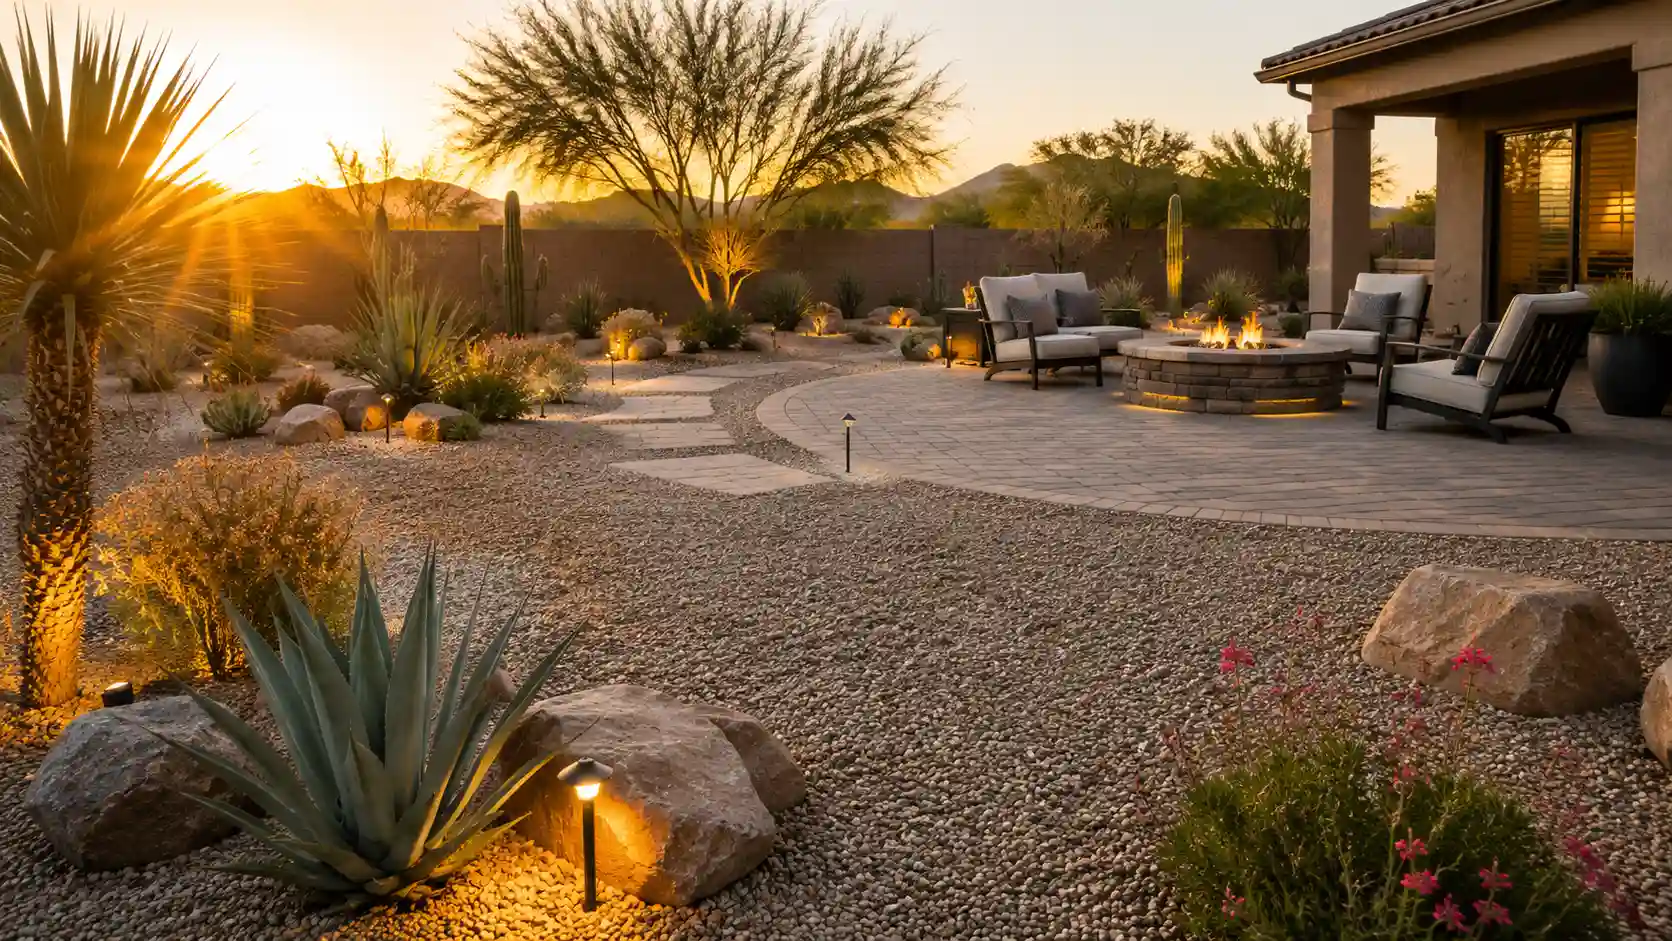
You’ve watched the water bill climb every summer, watered a lawn that turns brown anyway in the heat, and wondered if there’s a better way to landscape a backyard in a dry climate. There is, and a desert landscaping backyard is exactly that: less water, less mowing, and a look that actually fits where you live.
This guide walks you through the whole process, start to finish — from measuring your yard on day one to setting the final landscape light. You don’t need a landscaping crew or a five-figure budget. The same steps that work for a $20,000 professional install work for a $600 DIY weekend project; you adjust the materials and how much ground you cover at once.
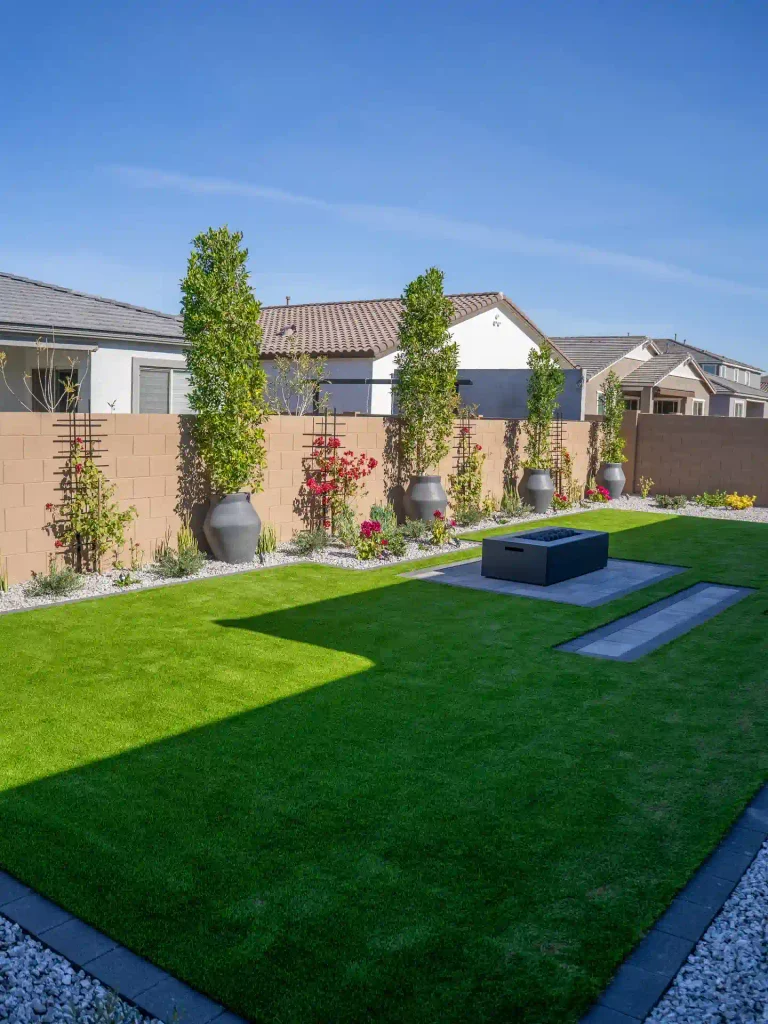
Plan on spreading this out over two to four weekends if you’re doing it yourself, longer if you’re phasing it by budget. The actual labor is straightforward — digging, spreading gravel, setting plants — but rushing the prep steps (especially the fabric and irrigation) is what turns a nice yard into a weedy, thirsty one two summers from now. Grab a tape measure, and let’s get your yard measured and mapped out.
- 100-foot tape measure
- Graph paper or a garden-planning app
- Garden hose (for marking zones)
- Sod cutter or herbicide
- Steel, aluminum, or paver edging
- Rubber mallet
- Heavy-duty landscape fabric
- Fabric staples
- 3/4-inch gravel or decomposed granite
- Wheelbarrow and bow rake
- Drought-tolerant plants
- Shovel
- Accent boulders (assorted sizes)
- Drip irrigation kit
- Low-voltage landscape lights + transformer
- Work gloves and utility knife
- Measure your yard and sketch a zone plan
- Set your budget before you buy anything
- Call 811 to mark utility lines
- Clear away grass, weeds, and old plants
- Install edging to define every zone
- Roll out landscape fabric
- Spread your gravel or decomposed granite base
- Plant your drought-tolerant plants first
- Set boulders and rocks for structure
- Connect a drip irrigation line to every plant
- Add a fire pit or seating area
- Finish with low-voltage landscape lighting
Measure Your Yard and Sketch a Simple Zone Plan
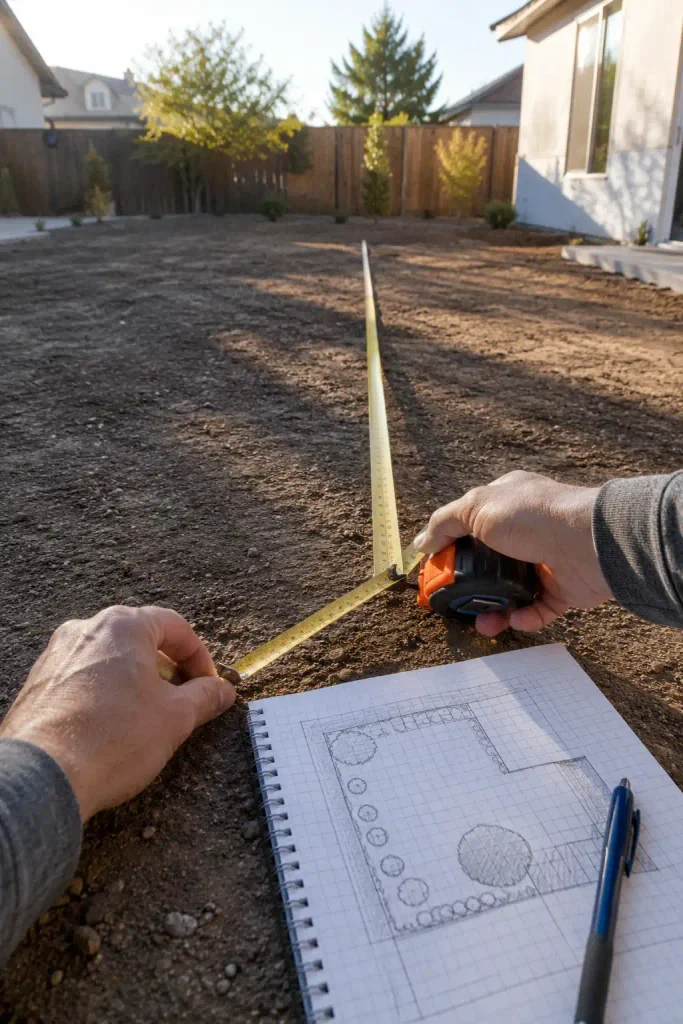
Grab a 100-foot tape measure and walk the full perimeter of your yard, writing down the length and width in feet. A rough sketch on graph paper works fine — you don’t need architecture software. Mark where the patio, existing trees, downspouts, and property lines sit, since gravel needs to drain away from your house, not toward it. Use a garden hose to lay out rough shapes for your lawn area, plant beds, and any hardscape zone like a patio or fire pit. This step takes about 30 minutes and saves you from ordering the wrong amount of material later.
Set Your Budget Before You Buy a Single Rock
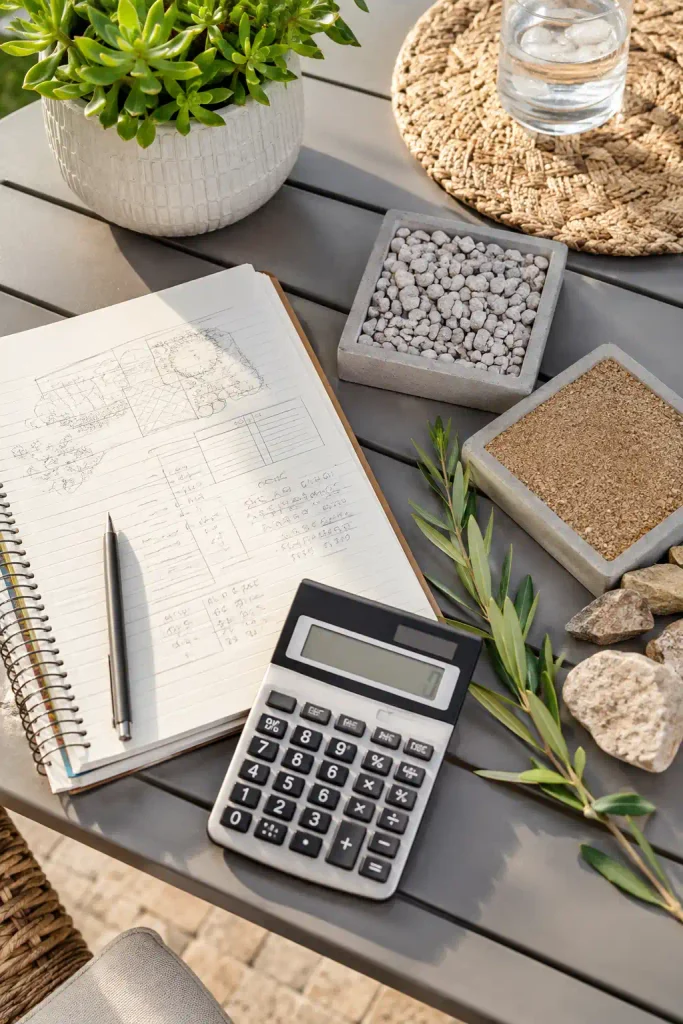
Desert landscaping runs anywhere from $3 per square foot for a basic gravel-and-plant DIY job to $15 or more per square foot for a fully designed install with boulders, lighting, and irrigation. Multiply your yard’s square footage by a low and high number to get a real range before you shop. If money’s tight, phase the project: do the fabric, edging, and gravel this season, then add plants and lighting next season.
Call 811 to Mark Your Buried Utility Lines
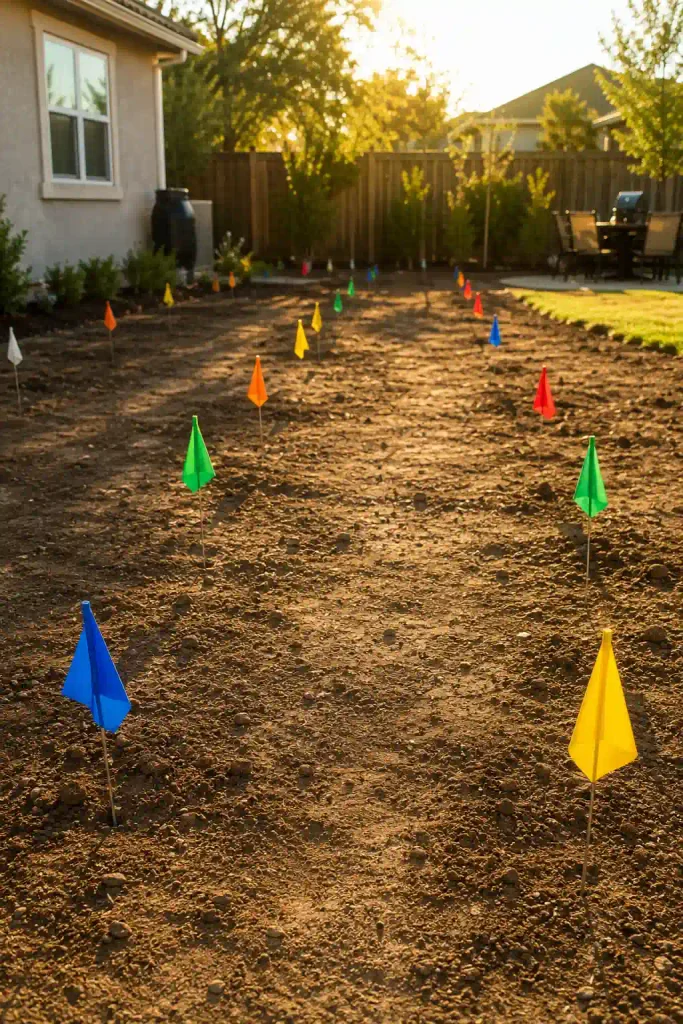
This part costs nothing and takes about five minutes on the phone or at call811.com. A technician marks buried gas, electric, water, and cable lines with flags or spray paint within a few business days. Wait for the all-clear before moving on to the next step — this is one of those steps that feels skippable and isn’t.
Clear Away the Grass, Weeds and Old Plants
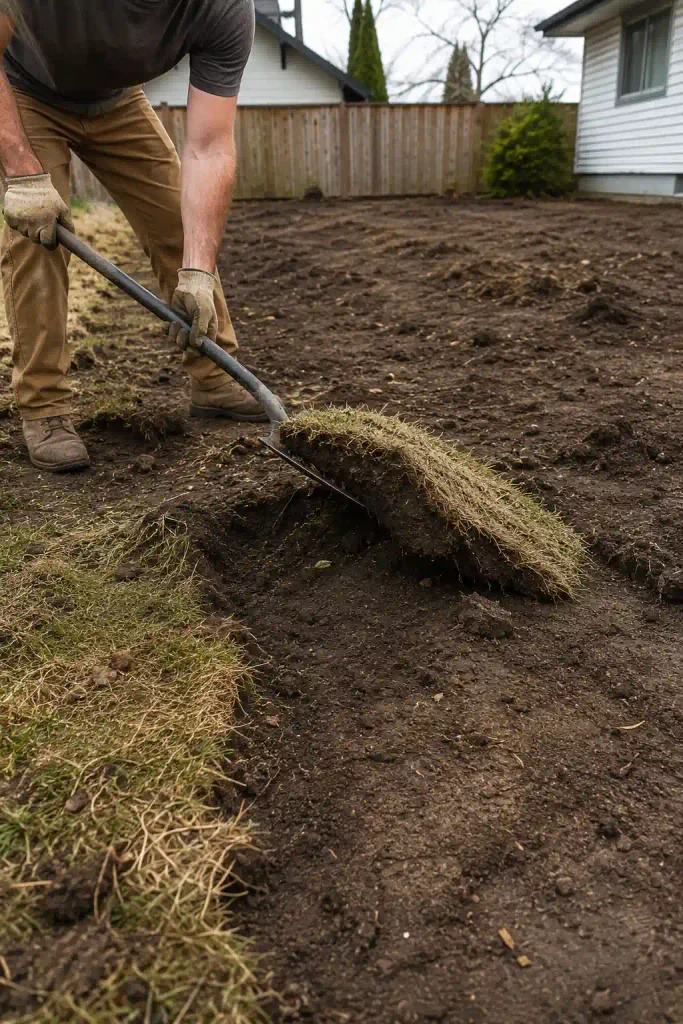
If your yard still has live grass, you have two removal options, and picking the slow one saves you from redoing this step in a month.
- Smother it under clear plastic sheeting for 4 to 6 weeks so summer heat cooks the roots, or spray a glyphosate-based herbicide and wait 10 to 14 days for it to die back
- Cut and lift the dead sod with a flat spade, or rent a sod cutter for a yard over 500 square feet
- Pull any remaining weeds by hand, roots and all
Bermuda grass and bindweed regrow straight through gravel if you leave root fragments in the soil, so don’t rush the pulling.
Install Edging to Define Every Zone
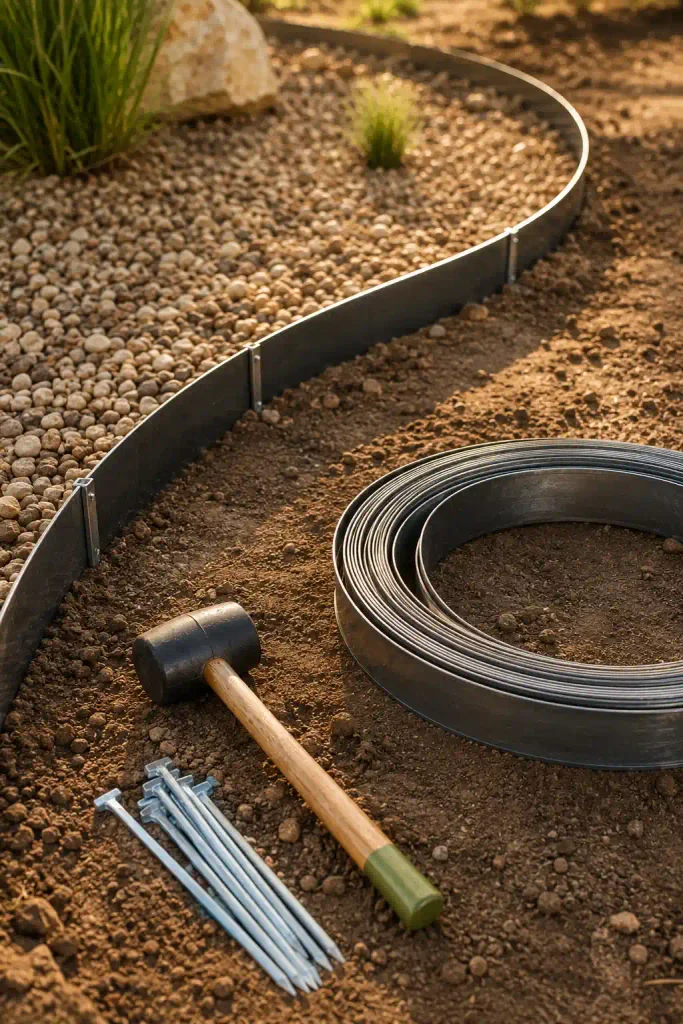
Edging is the line between your gravel zones and everything else — planting beds, turf, the neighbor’s yard. Steel edging (about 4 inches deep) holds a cleaner curve than plastic and won’t warp in full sun the way plastic does after a year or two. Pound stakes in every 3 feet with a rubber mallet, and keep the top edge level so gravel doesn’t spill over during monsoon rain.
Roll Out Landscape Fabric Across the Whole Yard
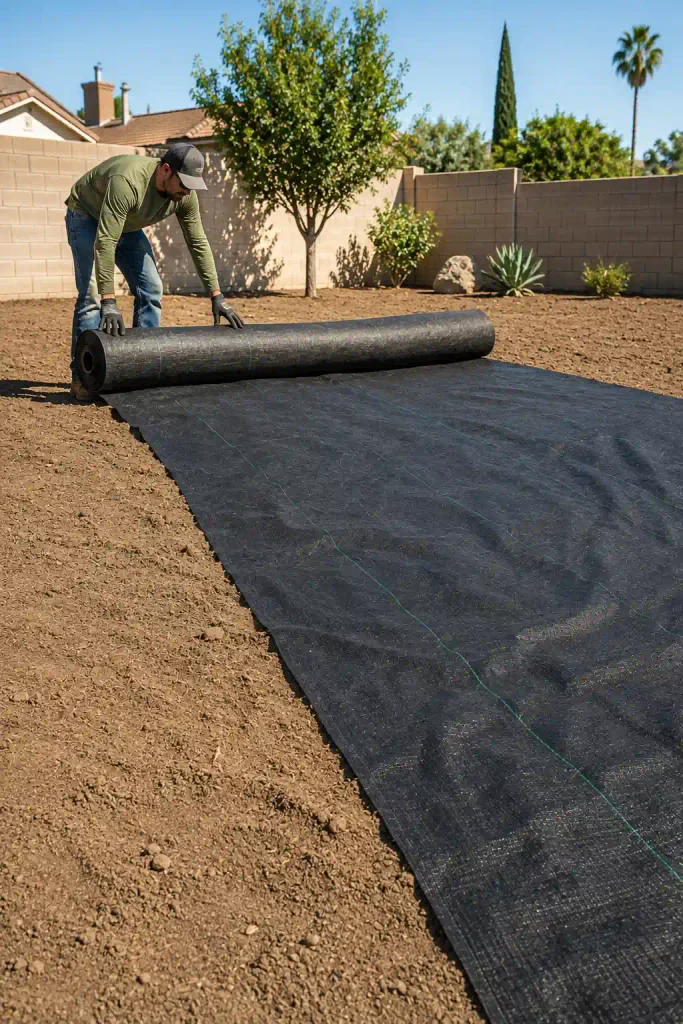
Skipping this step is the number one regret homeowners mention after their first year of desert landscaping — without fabric, weeds punch through gravel within a season. Roll heavy-duty landscape fabric (look for 3 to 5 oz. woven material, not the thin tissue-paper kind) across the entire bed, overlapping each strip by 6 inches. Cut slits for any existing trees or shrubs you’re keeping rather than removing. Secure every few feet with fabric staples so wind doesn’t lift the edges before the gravel goes down.
Spread Your Gravel or Decomposed Granite Base
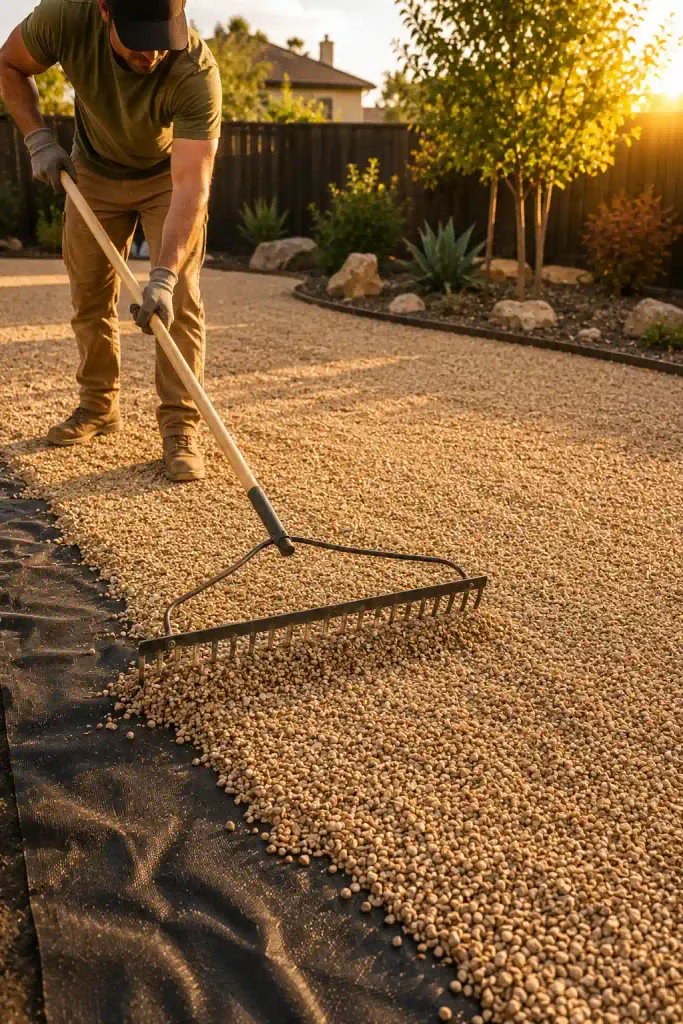
A 2-inch layer of gravel covers about 100 square feet per cubic yard, so use your measurements from Step 1 to calculate how much to order — most suppliers deliver by the yard, not the bag, once you’re covering more than a small bed. Dump gravel in small piles across the fabric rather than one giant mound, then rake it level with a bow rake. Keep the final depth even; gravel piled too deep in one spot buries your edging and drains poorly.
Plant Your Drought-Tolerant Plants First
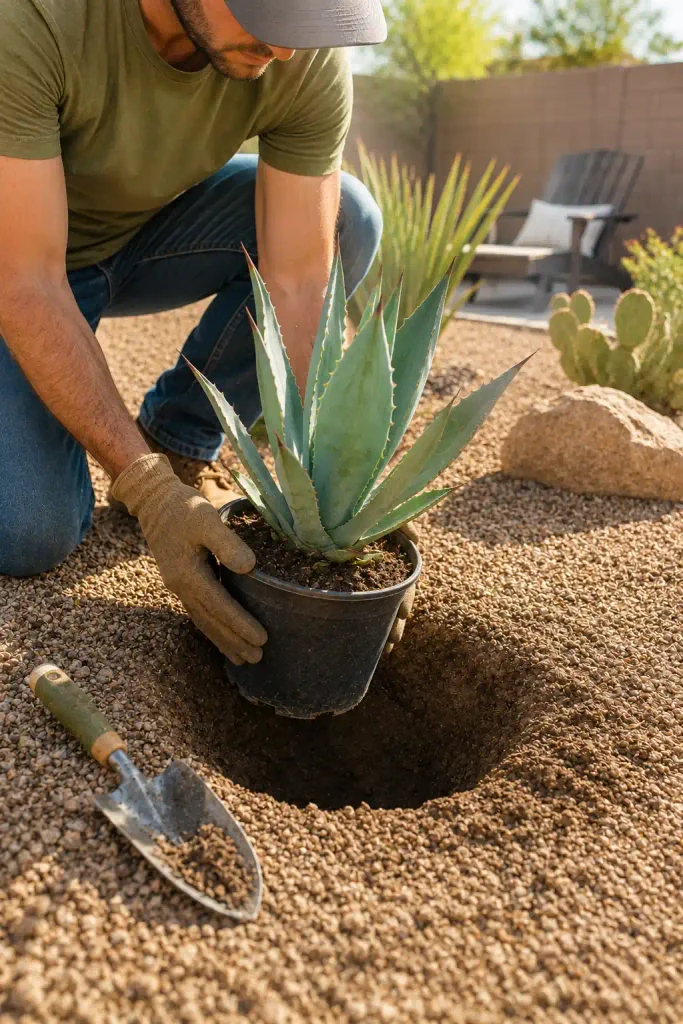
Dig planting holes twice as wide as the nursery pot but no deeper — desert plants like agave and yucca rot if they sit low and hold water at the crown. Backfill with the native soil you dug out; skip bagged potting mix, which holds too much moisture for these roots. Space larger specimens 3 to 5 feet apart for their mature size.
Set Boulders and Rocks for Structure
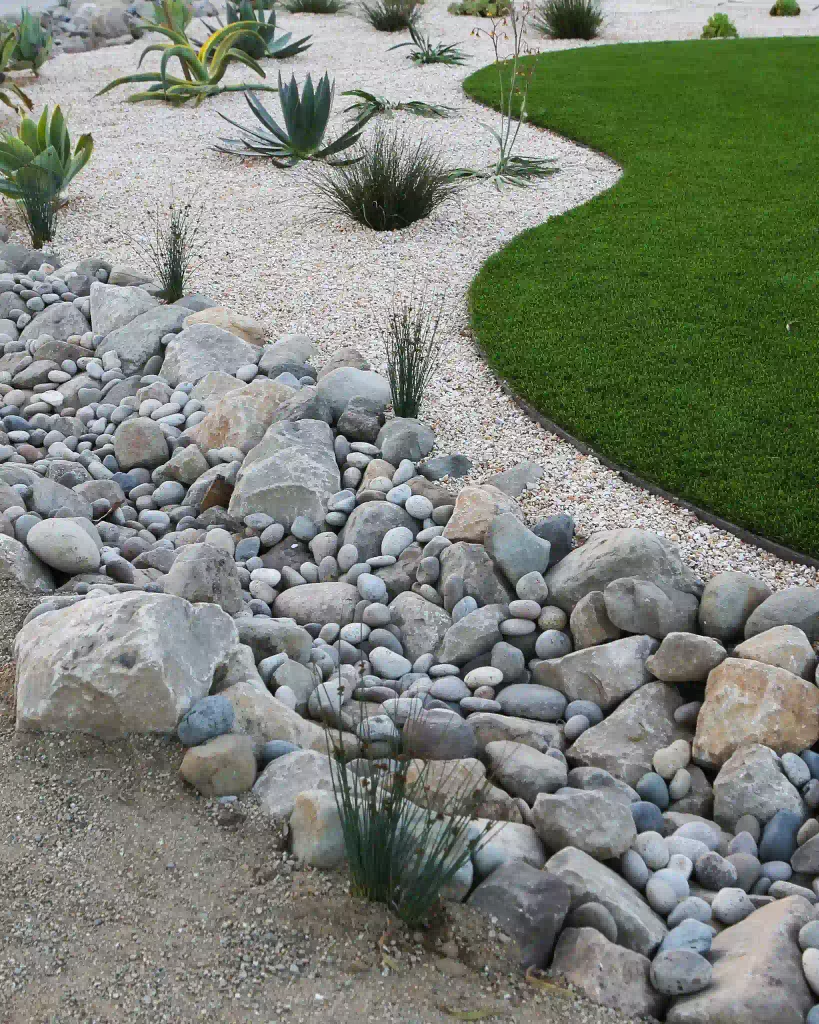
Boulders read as random when they’re scattered in a straight line or spaced out like fence posts. Real desert rock formations cluster in odd-numbered groups — three, five, seven — with the largest boulder partially buried, as if it settled there over time rather than arrived last Tuesday on a pallet. Press the base of each boulder 2 to 4 inches into the gravel instead of setting it on top, and angle a few smaller stones against the largest one to break up the outline. This one afternoon of placement does more for the finished look than almost any other step.
Connect a Drip Irrigation Line to Every Plant
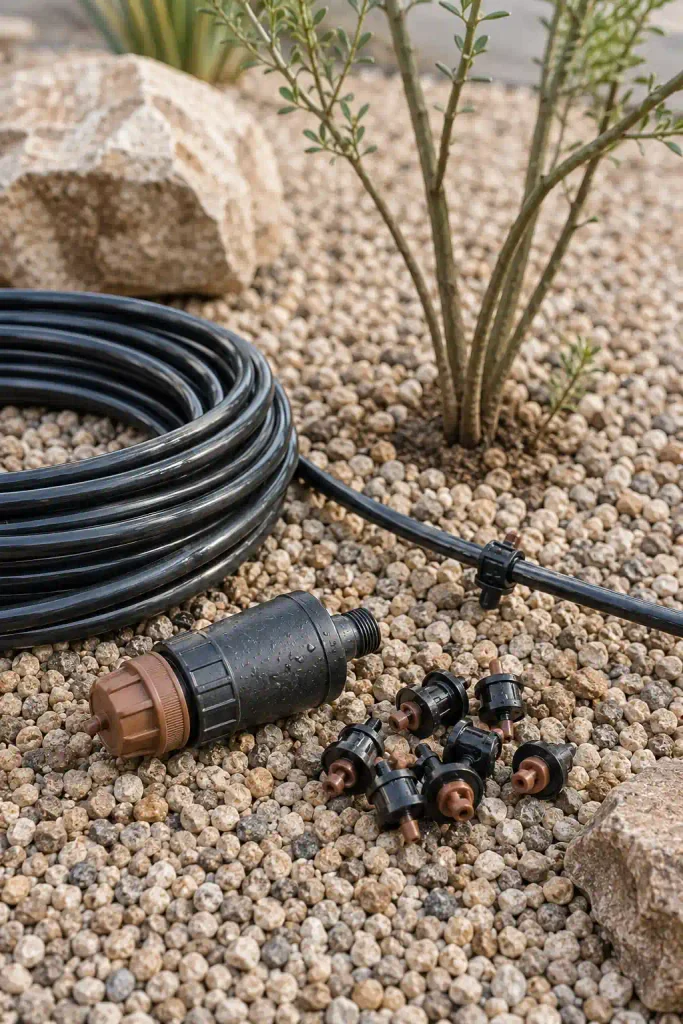
Run 1/4-inch drip tubing from your main line to each plant, ending in an emitter rated for that plant’s size — a 1-gallon-per-hour emitter for small perennials, 2 GPH for larger shrubs and trees. Bury the tubing an inch or two under the gravel so it doesn’t bake in the sun and crack within a year. Set your timer for early morning, before temperatures climb, and run for 15 to 20 minutes every 2 to 3 days until plants establish, then stretch that schedule out.
Add a Fire Pit or Seating Area as Your Focal Point
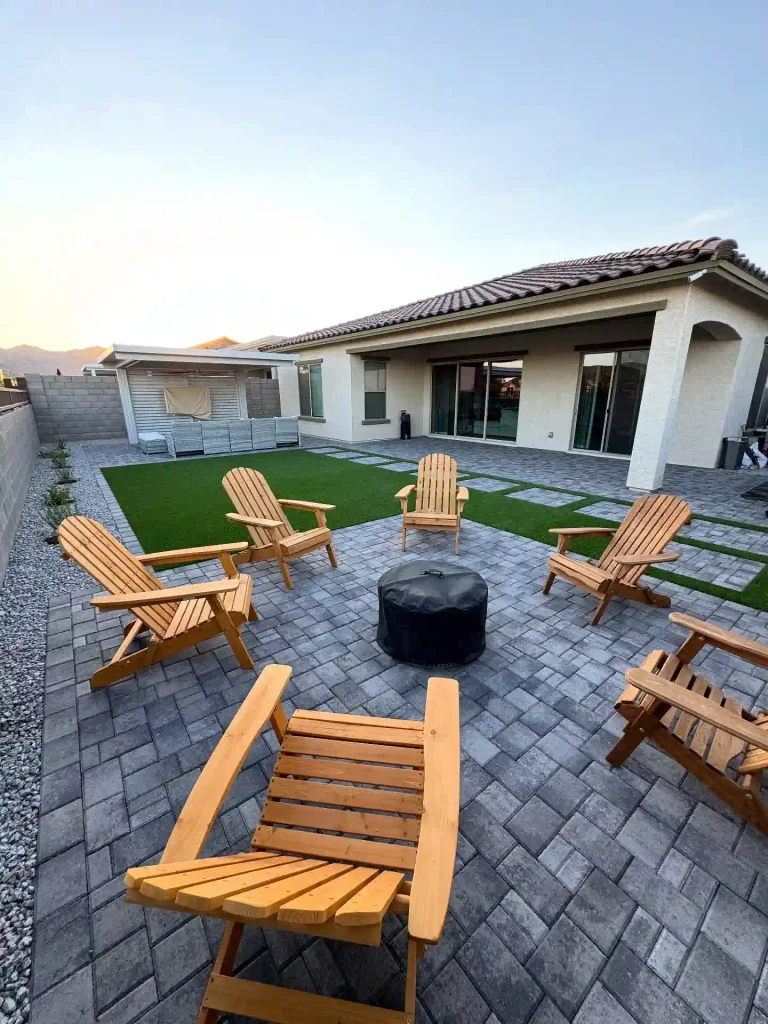
Every desert backyard needs one spot that pulls people outside after the sun goes down, and a fire pit or simple seating cluster does that job better than any plant can. Set it on a paver or flagstone pad rather than directly on gravel — loose stone shifts under chair legs and scatters coals unevenly. Keep the pad at least 10 feet from your house, fence, or any overhanging tree, and check your local fire code before buying a wood-burning pit; many desert municipalities require propane or natural gas instead.
Finish with Low-Voltage Landscape Lighting
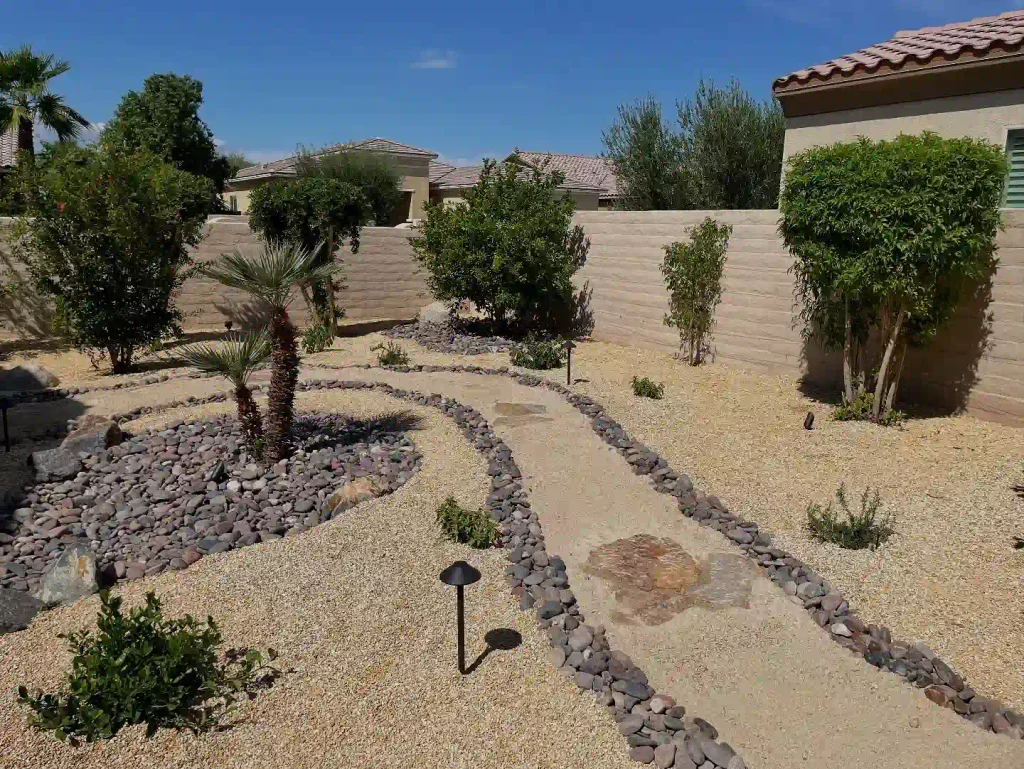
Run 12-volt landscape wire from your transformer to each fixture location before you bury anything, and test every light while it’s still sitting on top of the gravel. Fixing a bad connection now takes five minutes; fixing it after the wire is buried under a boulder takes an hour. Aim path lights down and slightly forward instead of straight down — this lights the ground without creating a runway of bright dots — and uplight one or two boulders or trees for depth after dark.
Common Mistakes to Avoid
FAQ
- Measure yard, sketch zones
- Set your budget range
- Call 811, wait for locate
- Clear grass and weeds
- Install edging
- Roll out landscape fabric
- Spread gravel base
- Plant drought-tolerant plants
- Set boulders in clusters
- Connect drip irrigation
- Add fire pit or seating
- Install low-voltage lighting
Conclusion
Your yard is no longer a lawn you fight with every July. It’s edged, gravel-covered, planted with things that actually want to live there, and lit up enough to use after dark. That’s the whole point of a desert landscaping backyard — less upkeep, lower bills, and a look that belongs where you live.
Once everything’s settled in for a season, the next natural step is dialing in your drip schedule by month instead of running it flat year-round.
Save this guide to your outdoor projects board so it’s easy to find when you’re ready to start digging.